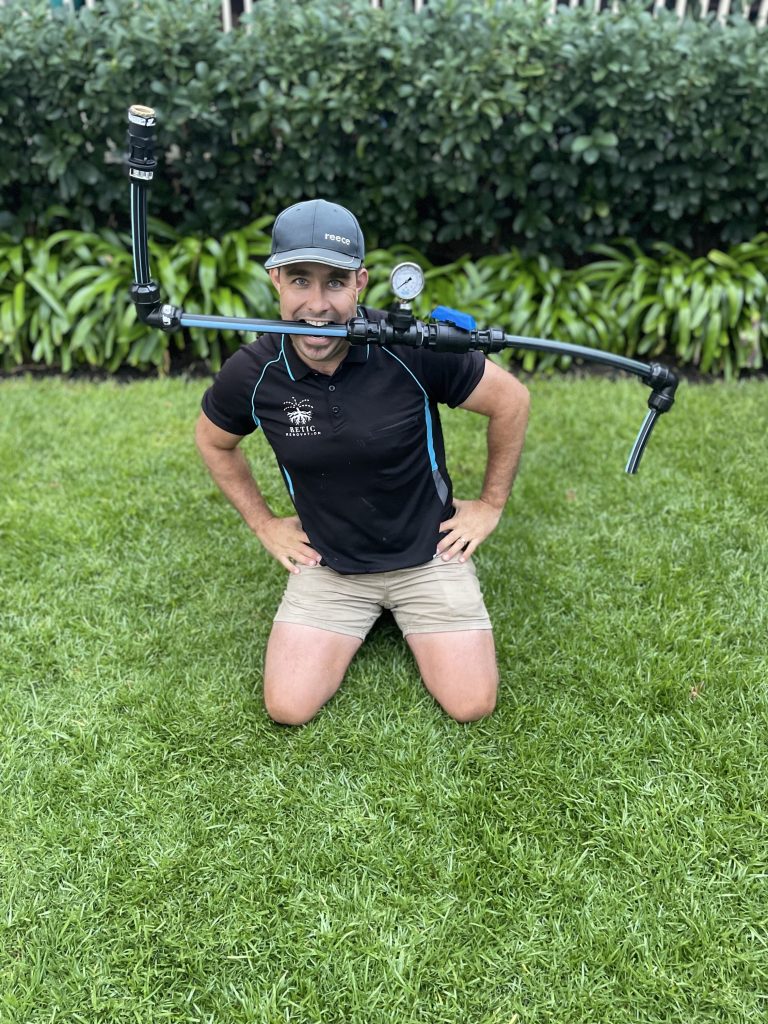
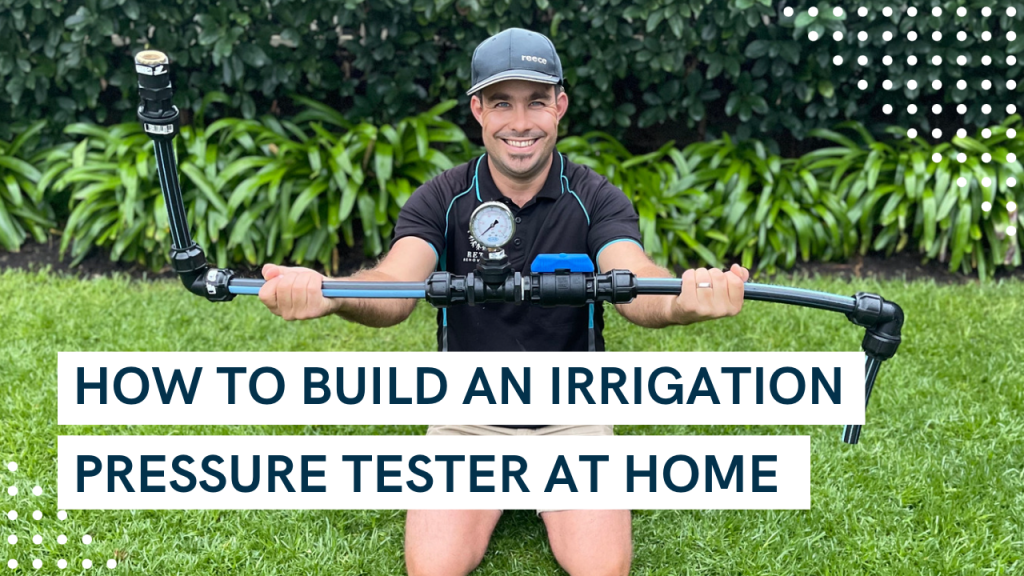
Hi there! I’m Luke from Retic Renovation, with nearly 20 years of experience in installing home irrigation systems, or as we in the west like to call it ‘Reticulation’ In this blog, I’ll explain the critical importance of doing an irrigation pressure test before installing any system. Additionally, I have created a helpful video demonstrating how you can easily build a home irrigation pressure tester suitable for DIY enthusiasts, tradies, and contractors. You’ll find an exact list of required parts, including quantities, pipe length, and product codes. Check out the links below at the end of this blog for easy access.
Why Irrigation and Reticulation Pressure Testing Matters
Why Pressure Testing Matters
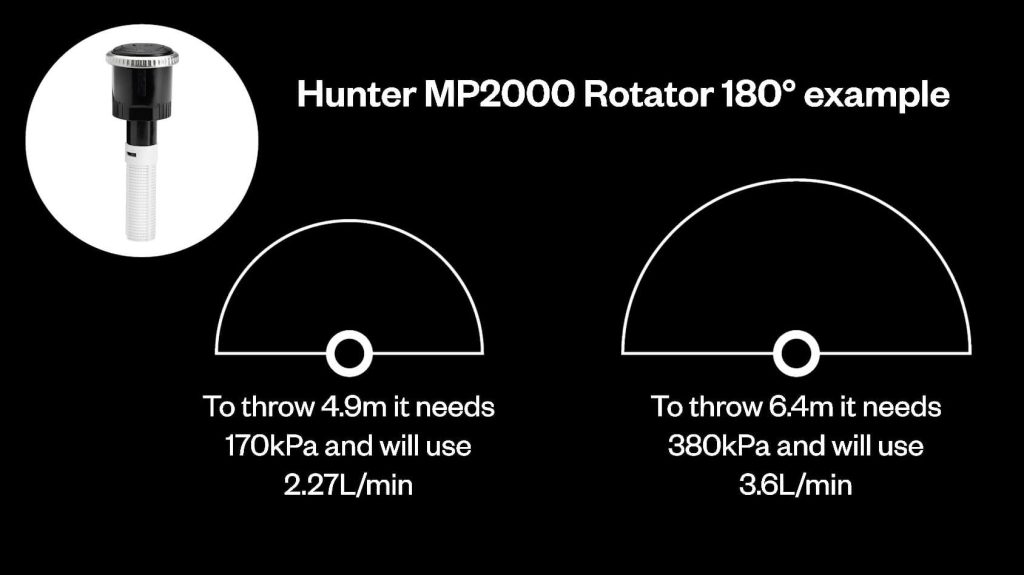
A pressure tester is a vital tool for achieving a lush, green lawn and garden. Dealing with sprinklers that don’t cover the desired areas, brown spots, or a poorly functioning system can be frustrating. If you have LOW PRESSURE on your reticulation system then a pressure testing is a must and the first step to addressing your issue. Without a pressure test you may add too many sprinklers onto a zone or the sprinklers may not overlap fully. To ensure efficient watering, different types of sprinklers require specific flow rates and pressures. Consider this example of MP Rotator sprinklers.
Explanation of kPa (Kilopascal)
Kilopascal (kPa) is a unit of measurement used to quantify pressure. It is commonly used in the context of irrigation systems to determine the water pressure needed for efficient operation.
Pressure is the force that pushes water through your irrigation system. Just like you need the right amount of force to throw a ball a certain distance, sprinklers require a specific amount of pressure to cover the desired area effectively.

By understanding and measuring the pressure in kPa, you can make informed decisions about the design and performance of your irrigation system, ensuring that your plants receive the right amount of water for healthy growth.
Working Out Sprinkler Spacings
Determining sprinkler spacings and referring to the manufacturer’s performance chart are crucial steps. The chart helps you calculate the necessary flow and pressure for your system. It’s always better to err on the side of caution. For instance, if you can run your system off two stations, consider using four. As they say, prevention is better than the cure. In the video you’ll see that higher pressure can sometimes lead to lower flow.
Pressure Testing Steps
To conduct a pressure test, you’ll need an irrigation pressure tester, stopwatch, and a bucket. While a 10-litre bucket is typically used, any size will work as long as you know its capacity. We’ll be measuring pressure in kPa, the standard unit of measurement in Australia.
Steps:
- Connect the house tap to the pressure tester.
- Turn on the house tap fully.
- Set the pressure tester to the required kPa for your sprinklers (refer to spacing and manufacturer’s performance chart).
- Time how many seconds it takes to fill the bucket. You can refer to the diagram or see the written instructions below.

Calculating Flow Rate
Here’s a simple calculation: Multiply the bucket size (10 litres) by 60 and divide it by the number of seconds it takes to fill up. This will give you the flow rate in litres per minute at the tested kPa.
Optimising Your System
It’s important to note that certain sprinklers may have different throw distances and flow rates at varying pressures. By running sprinklers at lower kPa and spacing them closer together, you can potentially fit more on a single station. Make sure to consult the manufacturer’s performance chart specific to the sprinklers you plan to use (easily available online). Set out your sprinklers accordingly and perform a flow test based on the desired spacing.
Why Pressure Test over a simple bucket test?
When it comes to installing irrigation systems, a simple bucket test falls short in ensuring the effectiveness and reliability of the setup. While bucket tests can provide a basic assessment of water flow, they lack the comprehensive evaluation that pressure testing offers. Pressure testing is a superior method because it replicates real-world conditions, simulating the actual water pressure the system will experience during operation. This approach allows for potential problems that a bucket test may overlook.

By subjecting the system to realistic operating conditions, pressure testing provides a more accurate assessment of its performance, verifying whether it can deliver the required flow and pressure. It also aligns with the design specifications In summary, when installing irrigation systems, a pressure test is the preferred method over a bucket test because it offers a thorough evaluation of the system’s integrity and functionality under real-world conditions, ultimately ensuring efficient and reliable water distribution.
Interested in creating your own pressure tester?
We have two valuable resources for you:
Paid Version: For a comprehensive and detailed guide, including all the necessary parts and instructions, consider our paid version. We put a lot of timeinto this video to make it straightforward for you to build your very own irrigation pressure tester. Click here
Free YouTube Video If you prefer a step-by-step guide with a visual demonstration, you can find a free video tutorial on YouTube. Please note that the YouTube video does not provide as detailed step-by-step guidance like the paid video. Click here

Explore these resources to build your own pressure tester according to your preferences and requirements.

Luke Porter
I have over 17 years hands-on experience in both landscaping and reticulation service and I’m extremely competent in problem solving, repairs, installation, and product knowledge.
