fbpx

Broken Sprinklers – WHY they break and how to fix them!

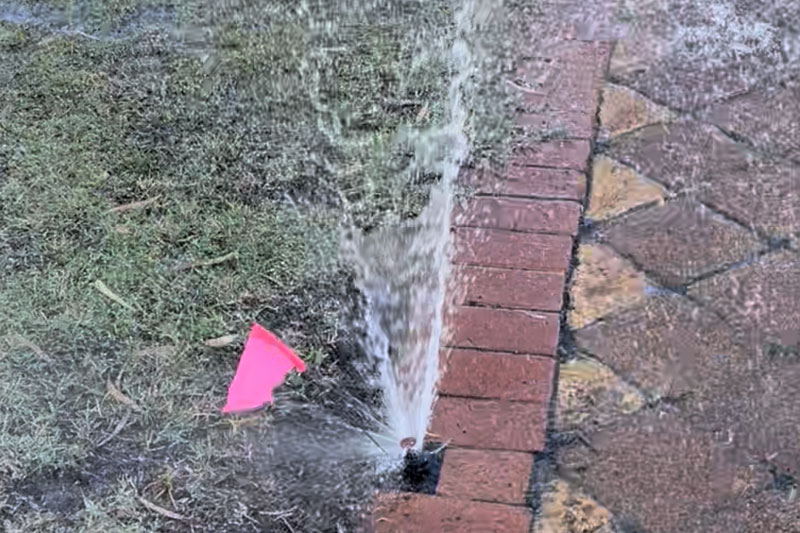
Many times it will be fairly obvious where a broken sprinkler is, people often know where all their sprinklers are in their yard and when what was green suddenly becomes a big dead patch start by checking the closest retic point.

Finding the Broken Sprinklers

Many times it will be fairly obvious where a broken sprinkler is, people often know where all their sprinklers are in their yard and when what was green suddenly becomes a big dead patch start by checking the closest retic point. Here are some tips for finding broken sprinklers.

Broken Sprinklers
Find Broken Sprinklers

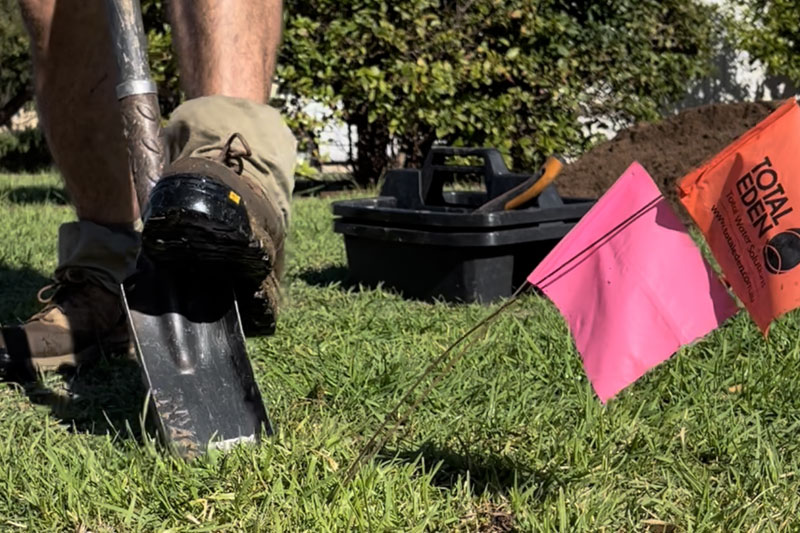
1) Firstly, grab yourself some of these marker flags. They come in handy for making broken sprinklers. You can also get multiple colors and use different colors for different things. For example, a red flag could mean a blocked sprinkler head and a blue flag could mean a sprinkler body that is broken.

Many times, there are multiple things wrong and it can be very handy to keep track of things with these flags. Retic sprinklers often are buried in old lawns and are hard to spot, having marker flags makes your job much easier.

2) Bear in mind that often there is another cause for a sprinkler breaking. An example could be a blocked sprinkler head. We need to find out why it is blocked. There could be a leaking sprinkler body 10 meters away letting dirt in. Without having a good look over the system you may often miss things like this. The result is the problem keeps on happing and water continues to be wasted, So, its best to keep an open mind and be thorough. It is good to check everything while you are at it and make sure all areas are performing well.

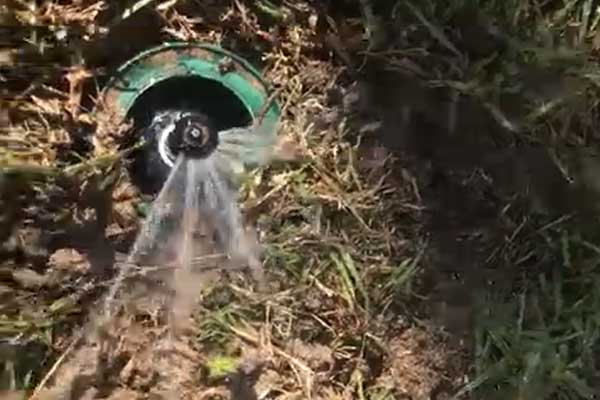
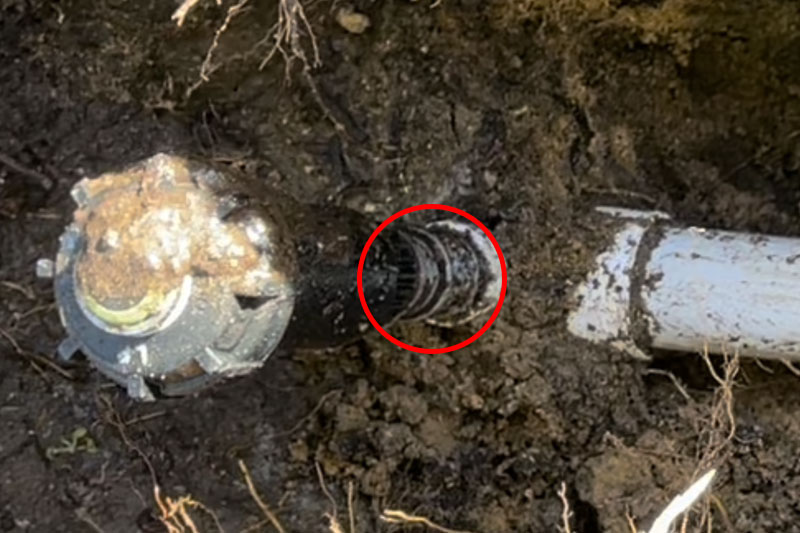
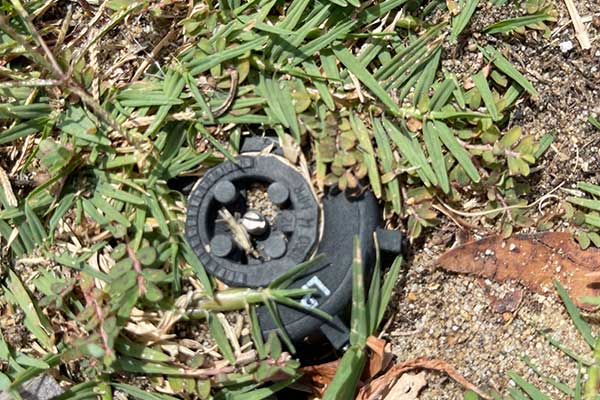
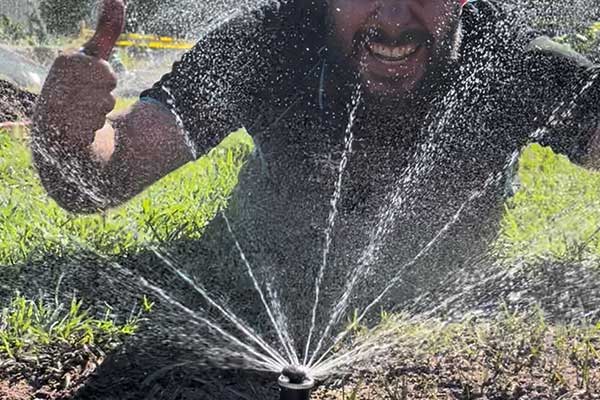
3) Start by checking the sprinklers closest to the areas that seem to be drying out. Remember you need to get close. Put your bathers on because you are going to get wet! It is best to get close to each sprinkler as often small blockages are very hard to see even from a few meters away. These small blockages in sprays can cause dry patches. Get as close as possible and check thoroughly. Even a small blockage in a working spray head can affect the spray pattern of the pop-up sprinkler. 

Partially Blocked Head

4) Do not look for just blocked or broken spray heads, carefully assess the entire irrigation system and look for things such as

  • Low pressure
  • Broken pipes
  • Water leaks
  • Irregular patterns in the arc and throw of the sprinklers

These are common problems and some such as a leak can cause sprinklers (Even new sprinklers) to block up. Whenever there is a leak as soon as the system shuts off you get suck back as the pipes want to fill back up with air. If there is a leak dirt can get sucked in from this weak spot. The next time the system is switched on the dirt is carried downstream to other sprinklers. Of course, the most telling sign that something is amiss is dry spots in your landscape or an area in your garden not doing well.

Broken Sprinklers

Fixing the Broken Sprinklers

I will focus here on two things
Fixing broken heads and fixing broken sprinkler heads

If you have a damaged sprinkler head or it’s blocked, you will need to change it and flush it. A few basics here

Fixing sprinkler heads

1) Make sure you replace like for like. Examine the other heads and try to use the same model, size, and brand as the others. Different sprinkler heads even the same type and size but a different brand often have varying flow rates and you may find your water pressure in that zone affected as well as the area not getting the right amount of water as before. An easy way is to remove the broken heads and take them into your local Irrigation store and ask for like. Sprinkler heads come in Male and Female threads so doing this will ensure you get the right fit. Take photos very close up of all the other heads so that the reticulation supplier can give the right advice and make sure that your irrigation is consistent and not a ‘mish mash’ of heads.

2) This is also your chance to improve the system so measure the distance between the broken or blocked heads and the nearest other sprinklers. If say they are spaced at 12 feet spacing but the broken head is a 10-foot head then you can improve the perth reticulation system by adding in a 12-foot spray nozzle.

3) Flush, flush, and Flush. Do not stuff this up or you will regret it. Make sure every sprinkler downstream of the broken one is also flushed. Take off every head downstream and flush as well. We have a detailed blog with examples and images of the tools needed here. 

Fixing sprinkler bodies or garden risers

1)  If the sprinkler head seems fine and no visible blockage or damage to it is apparent then have a good look at the actual body of the sprinkler or riser. 

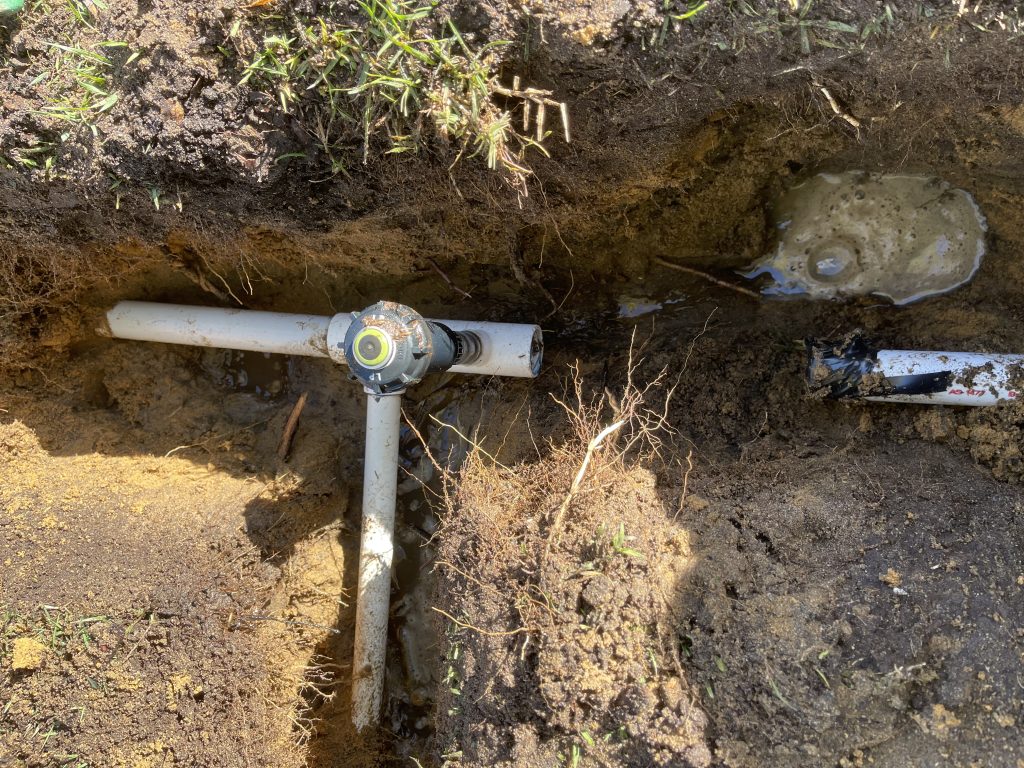
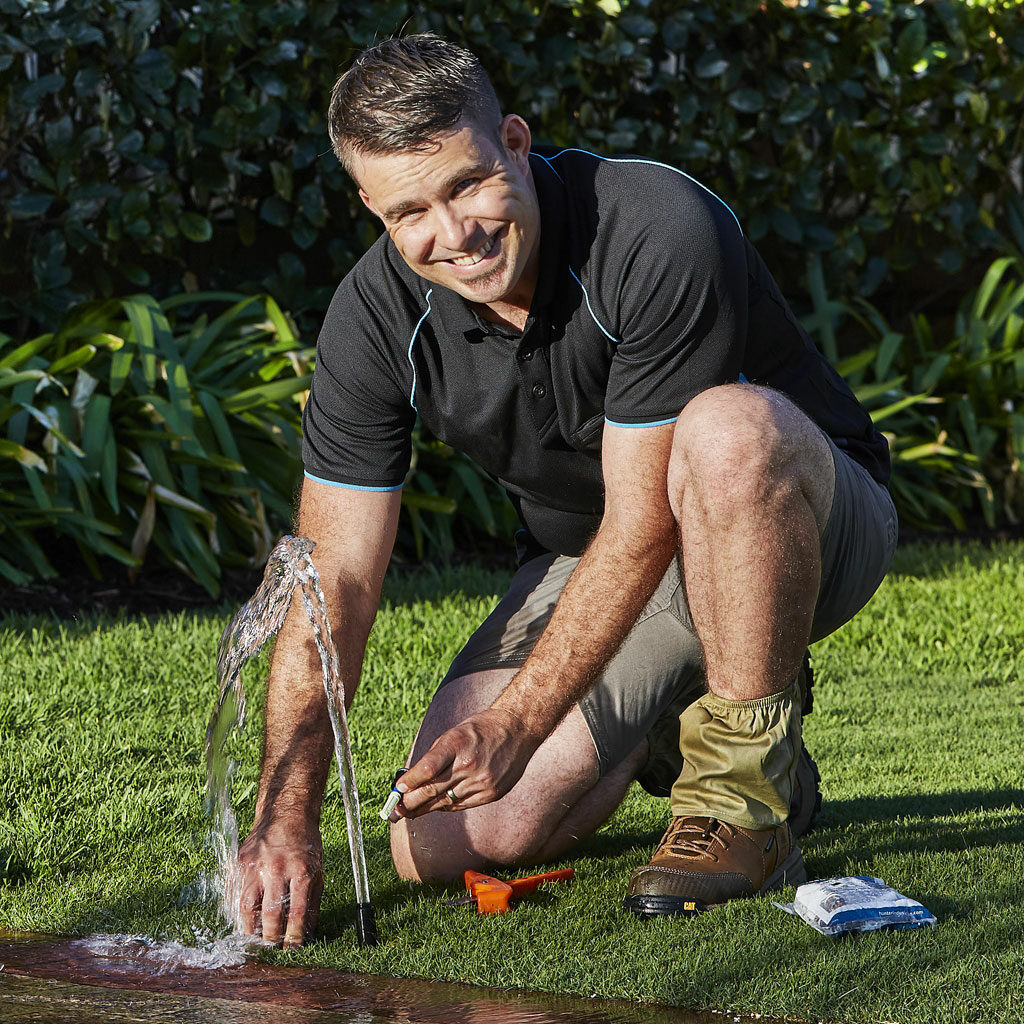
2) We would suggest digging a hole right around the sprinkler-make sure to dig right down to the irrigation piping and clear all around it (See attached example here) That way you can see clearly what is going on.

Broken Sprinklers

3) If the shaft is sticking in the pop-up sprinkler often there could just be dirt blocking it and if this is the case simply pulling it all apart and rinsing it in a bucket of water can often do the trick. If the pop-up shaft continues to stick then the sprinkler may just be old and worn and simply replacing it may be what is needed. Again, make sure you try to stick with what you have on the rest of the system for uniformity.

Broken Sprinklers

4) Always check the base of the sprinkler or garden riser that joins the body or riser into the piping or fitting can be broken allowing water to leak out from a crack in it. The normal cause of this is a downward force from above. This crack in the riser allows water to escape, reducing pressure in the system and also allowing dirt in blocking things up.

5) Again we would recommend that you dig right around and underneath the sprinkler then go and turn on the irrigation and physically view it from a very close distance. You will find it much easier to diagnose like this with everything exposed and visible in its entirety. Go the extra mile it will pay dividends. 

Here is an Instagram video on fixing the riser at the base of the sprinkler including the tool to use – 

Preventing Broken Sprinklers in The Future

Ever heard the saying ‘prevention is better than the cure?’ We subscribe to this model when it comes to irrigation.

Over the years we have had many discussions with clients about their ‘careless lawn mowing contractor’ The facts are that most of the time it’s not the contractor’s fault at all. Pop-up reticulation sprinklers should retract once the watering stops and should be set below lawn levels and off edges of paving, concrete, and other surfaces. Product quality and selection well as regular servicing also come into play.

Garden Sprinkler

Broken Sprinklers

1. Use A Taller Pop-Up

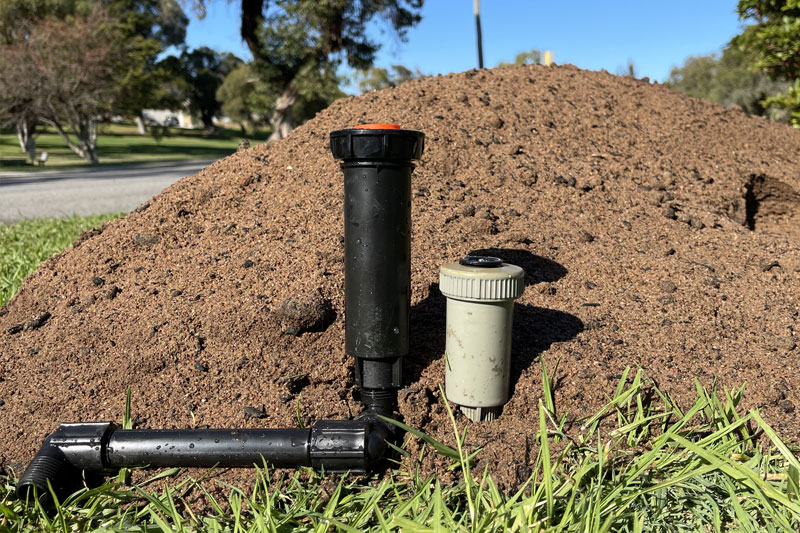
Most people use either 50mm or 75-80mm. We use 100mm as a minimum and sometimes taller. This is important. A smaller pop-up needs to be installed closer to the surface greatly increasing the chance of it being broken by a lawn mower, car, wheelbarrow, foot traffic, and many other things. When a taller sprinkler is used it can be set 30mm or so below the ground or level massively decreasing the possibility of damage from ‘above ground’ A smaller sprinkler also will not pop up as high and is easily blocked by grass that has been left an extra week without mowing. So use a taller sprinkler and lower it.

2. Product Quality

Like anything quality matters. Use a good quality product. On our irrigation supplies page we have several of our favourite sprinkler bodies and sprinkler heads listed.

Luke Porter

Reticulation Services

3. Sprinkler Placement

This is a no-brainer but for some reason, it is not often considered. Place sprinklers off the edge several inches so that when edging the sprinklers and sprinkler surround is not damaged. Again, place the sprinkler well under the lawn. Thoughtfully consider where you place the sprinklers in other areas as well.

4. Sprinkler Joints

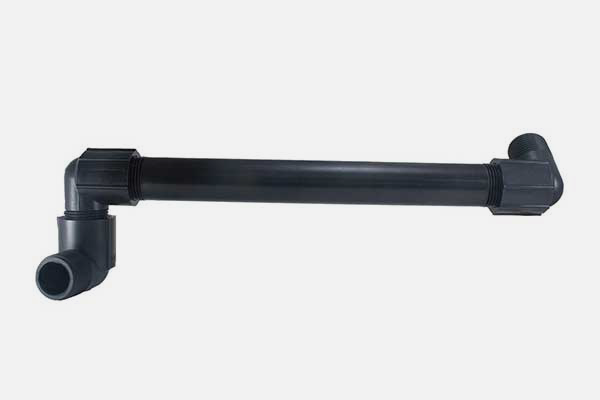
This is essential for high-traffic areas especially verges. We would recommend using them on every single job. Articulated risers act as a joint that relieves downward pressure on sprinklers and pipe work. They play a huge role in stopping sprinklers snapping at the base and stopping pipe cracking. You could further protect the sprinklers by adding concrete surrounds, however, without doing the first steps listed here it will be pointless. 

Sprinkler Joint

Examples of these articulated risers can be found

In conclusion, although there are many tips and tricks when it comes to fixing damaged sprinkler heads and pop-up sprinklers we know from experience that following the steps outlined in this blog post will make a huge difference in minimising damage to your irrigation system. 

If you need a visual aid here is a step by step Instagram video showing us replacing a problem sprinkler from start to finish.

Do you need help with your reticulation? Enquire now!

Luke Porter | Install Sprinkler Heads

Luke Porter

The Director of Retic Renovation is passionate about beautiful healthy lawns and gardens.

I have over 17 years hands-on experience in both landscaping and reticulation service and I’m extremely competent in problem solving, repairs, installation, and product knowledge.

Menu